28-3-20
Who would have believed a month ago that a small outbreak of flu in China would effectively shutdown most of the planet, most of the population of the First World have been ordered to stay home, not to socialise, not to go outside unless its for essentials like food or fuel, the only people heading out to work are the “key workers” that are keeping the country running on a skeleton staff.
All you see or hear about now is “Covid-19” , the strain of Corona Virus that is spreading around the world at an unprecedented rate, graphs showing the daily death rates of each county are in all the media, countries around Europe have closed their once open borders, travel is all but banned, the sky’s, roads and railways have never been so quiet. Overlanders and travellers around the globe are trapped in foreign lands with no way of continuing their journey or even of getting home.
It would be disrespectful of me not to mention how much we owe the staff on the frontline fighting this out break, everybody from the NHS staff, who have always been the angels of mercy, to the other emergency workers, carers, retail workers, truckers and dozens of other trades that are out there risking at all for the good of the country and its people.
Thank you all.
Like many people, my plans for the rest of the year are to just to get through this and then hopefully carry on as normal, all plans for travelling have been cancelled and with luck can resume next year, but the van still has to be finished and with nothing else to do I thought I might as well spend my time in lockdown usefully.
The final part of the build is the furniture, with the basics of a bed, cooker/sink combo and some storage it sounds so easy, theres a million and one campers out there to copy from but I thought I’d try something different, but when it comes down to the layout its so difficult to break away from the norm. Due to the limited space and the practical requirements I’ve gone for a single bed that folds down from the passenger side wall, the fridge and cooker will sit behind the drivers seat with storage at the rear. The original idea for the storage was for it to be similar to what’s in most Transporter type vans but I’m moving away from that idea and possibly mounting some fold up shelves instead.

First of all you need to plan where to put everything.


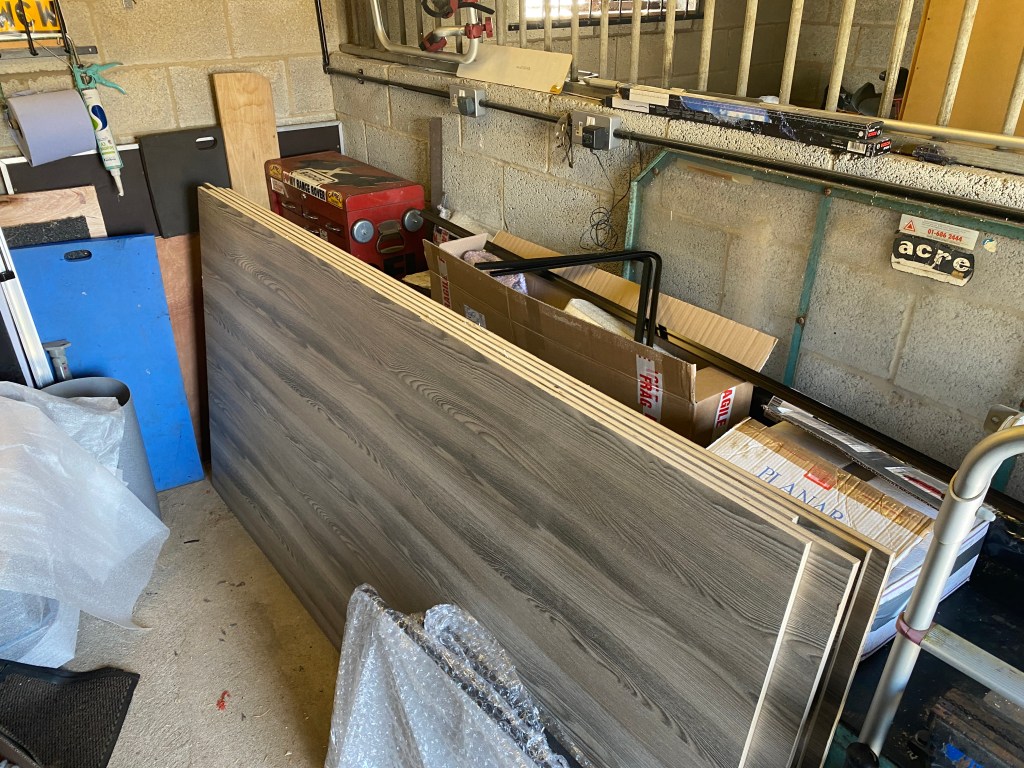
With a dozen different ideas running around in my mind I had a good idea of what layout I wanted and so I decided to start building the furniture and modify it as I went along. Thanks to the beauty of the internet dozens of parcels started to arrive in the last couple of weeks with everything I would need to get going, the only items I couldn’t order online, without massive delivery charges, was the plywood panels. So with thanks to my brother who took a trip up to Grimsby and brought back 5 sheets of the Nordic Ash lightweight plywood and some black table tops.
The day after fetching the plywood the whole country went into shut down, my self included. Most firms and retailers are now either closed or offering delivery only so the few bits and pieces I have forgotten can be ordered online.

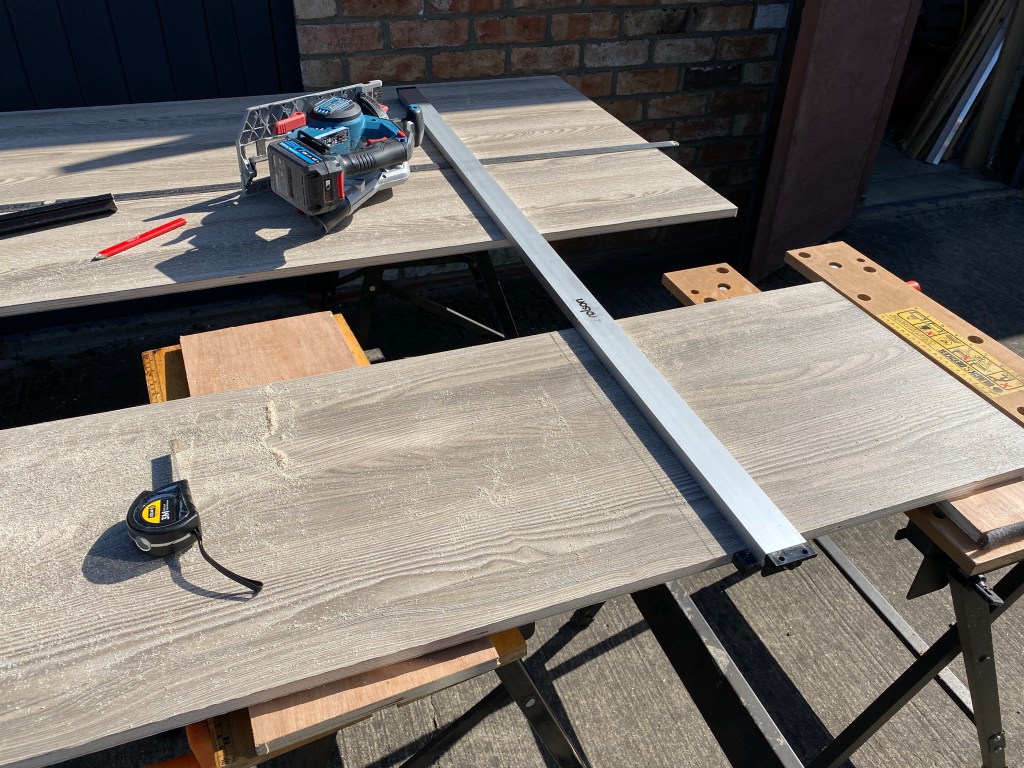

First job once I had finalised the layout was to get the dimensions right and then start cutting and assembling the carcasses, I wanted to get all the major cutting of the ply sheets out of the way and as luck would have it the next couple of days were beautiful sunshine so all this major works took place outside. Each unit is being built individually rather than being built into the van as a caravan or motor home would be, the idea being its possible to remove each item separately if needed. This idea has worked successfully for the stuff I built into my works vans as when we change vans the old unit is unscrewed / bolted and just placed in the new van and fastened in and away you go, no dismantling or rebuilding needed.
There are to be 5 separate units, fridge box that hides the electrical gear, kitchen unit housing the hob/sink combo with gas bottle and water containers, two over wheel arch boxes, one of which will have the fold down bed above it and the main storage cupboard.


At this stage the units have no doors cut into them or are even fastened together, all that is holding them together is the black aluminium extrusions on the corners, and its so good it was possible to drive the van around without anything moving or falling over.
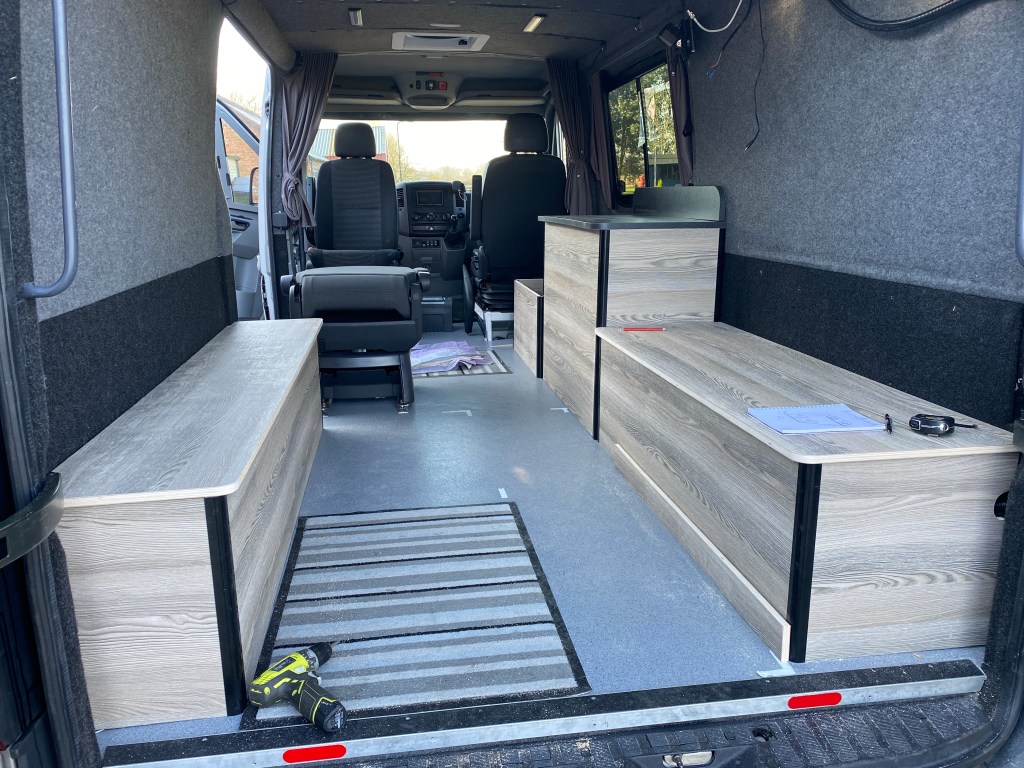
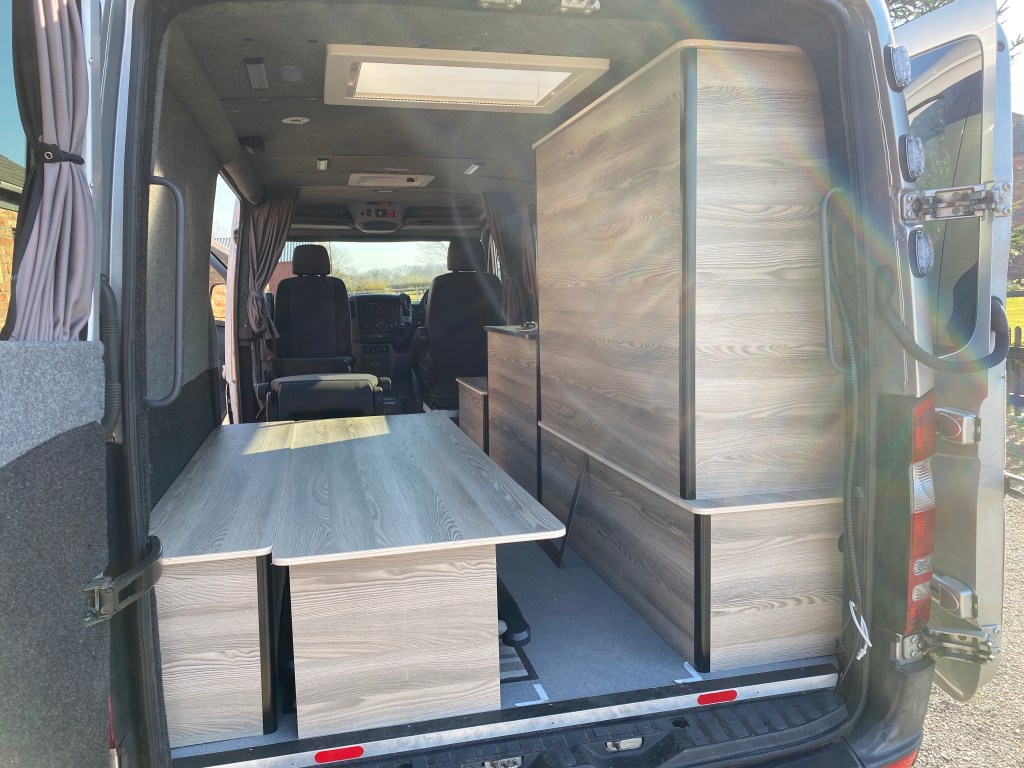
It was at this stage that I started to think the large wardrobe was a bit too intrusive, plenty of storage but its a big chunk of the interior used up. I may yet go for some fold down shelves instead.
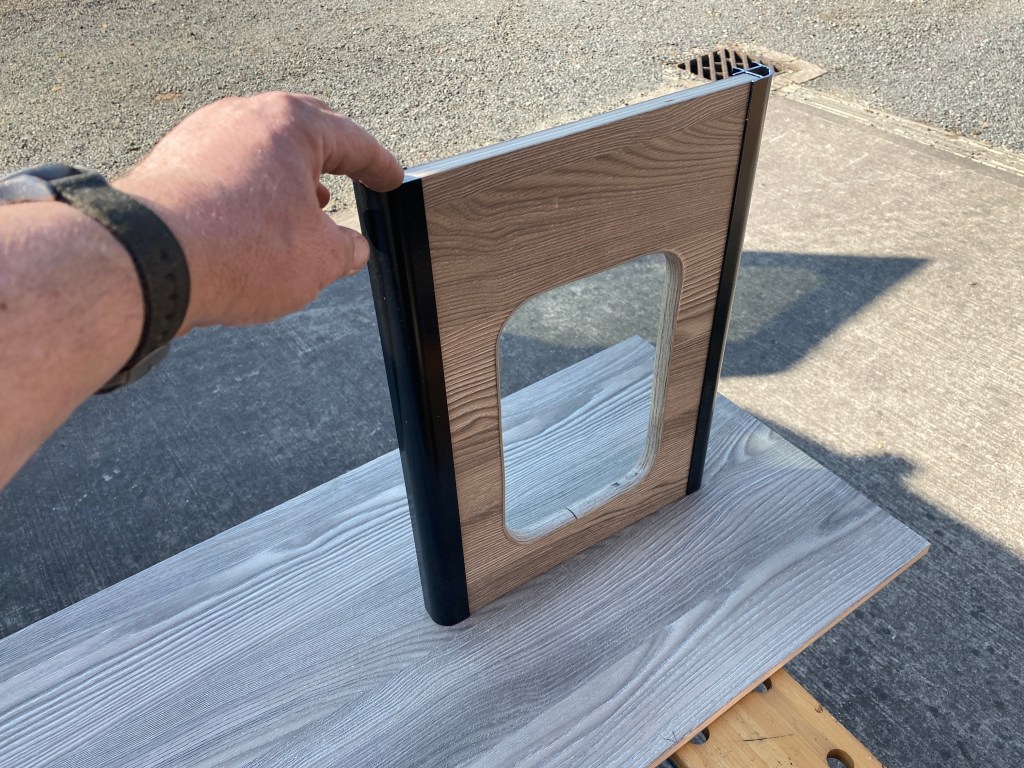
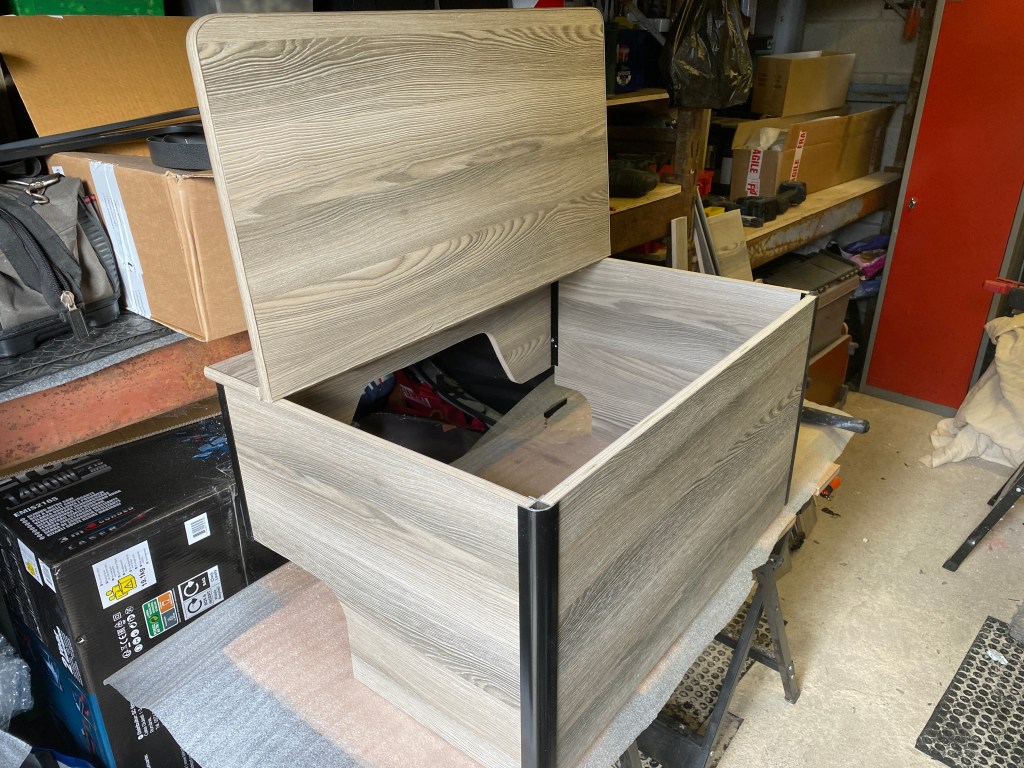
Now that all the units were in place it was time to start the final assembly, this means taking them apart, cutting the doors or hatch ways into them, trim the edges with knock in T-trim where needed and finally screwing them all together, this is where the Ali corner pieces come into their own, they are rigid without any screws in but with just a couple into each piece of ply they become rock solid, I’m very impressed.


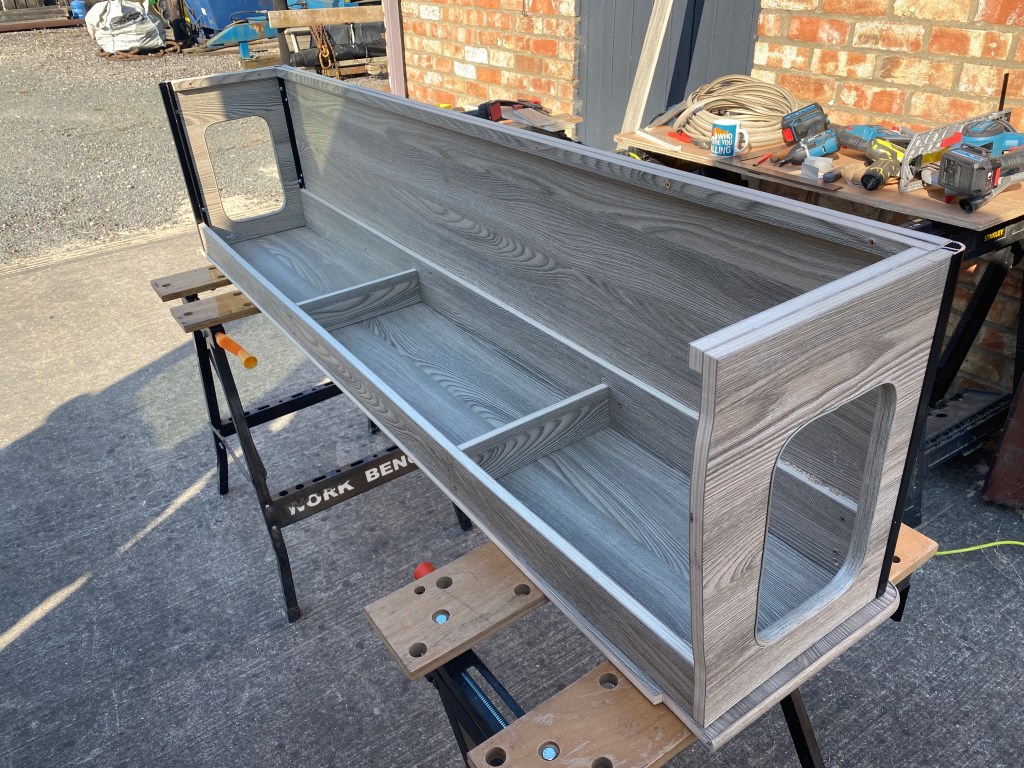

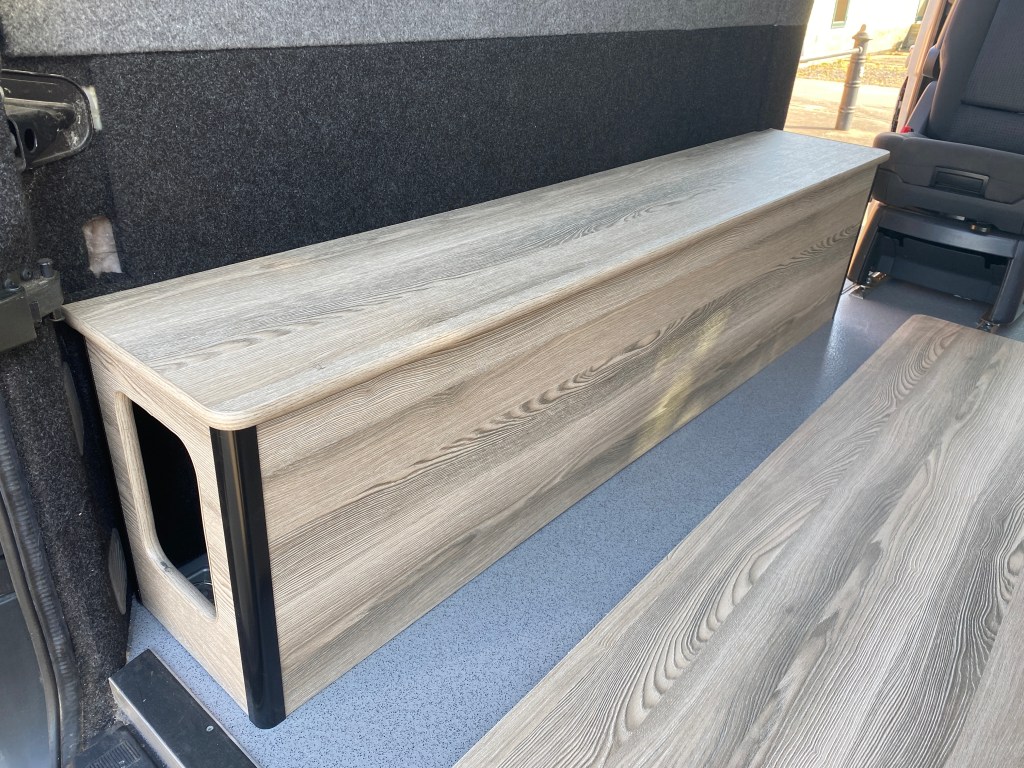
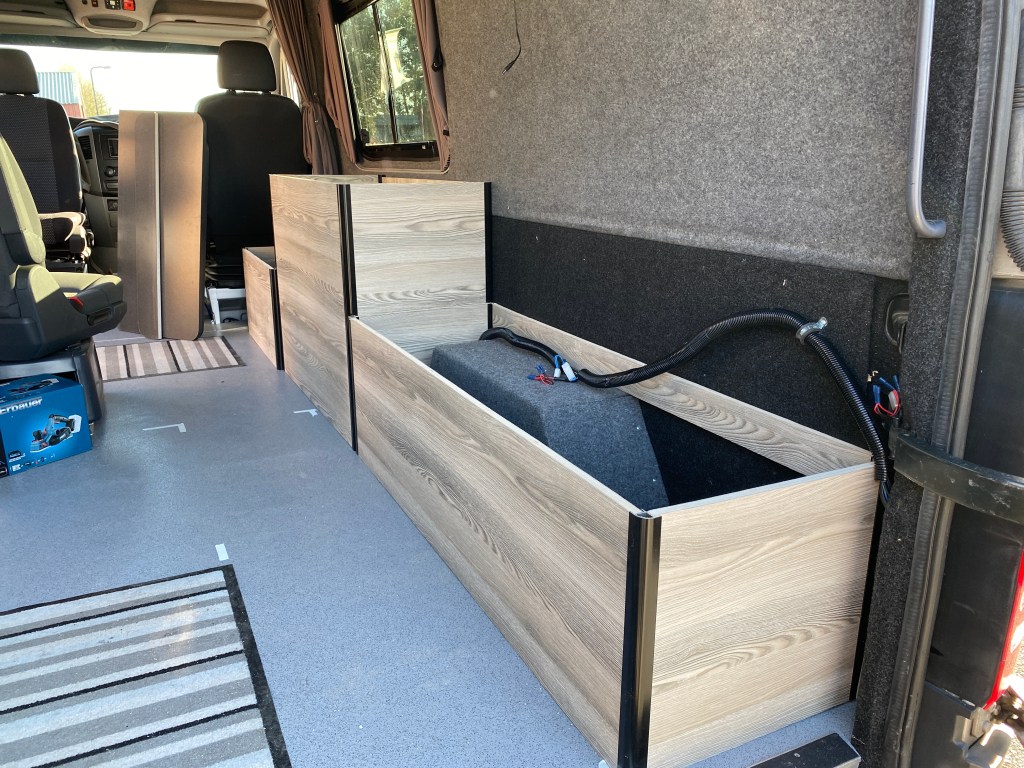
On this one I’ve not gone for doors as the small storage available will be for those emergency items not used very often, like jump pack, spares, oil etc etc. I’m still waiting on the hinges for the bed platform so not fully complete but its all fastened in and is more than capable of taking my weight.

As you can see, the battery box has a lid that gives access to the batteries and electrical gear, the cut outs at the rear base allow cables to run into and along the back of the box, this allows the box to be removed without disturbing any cables. After the initial build I decided to make the box 100mm deeper to accommodate the inverter, exactly the reason everything was assembled loosely first before committing to the final assembly.
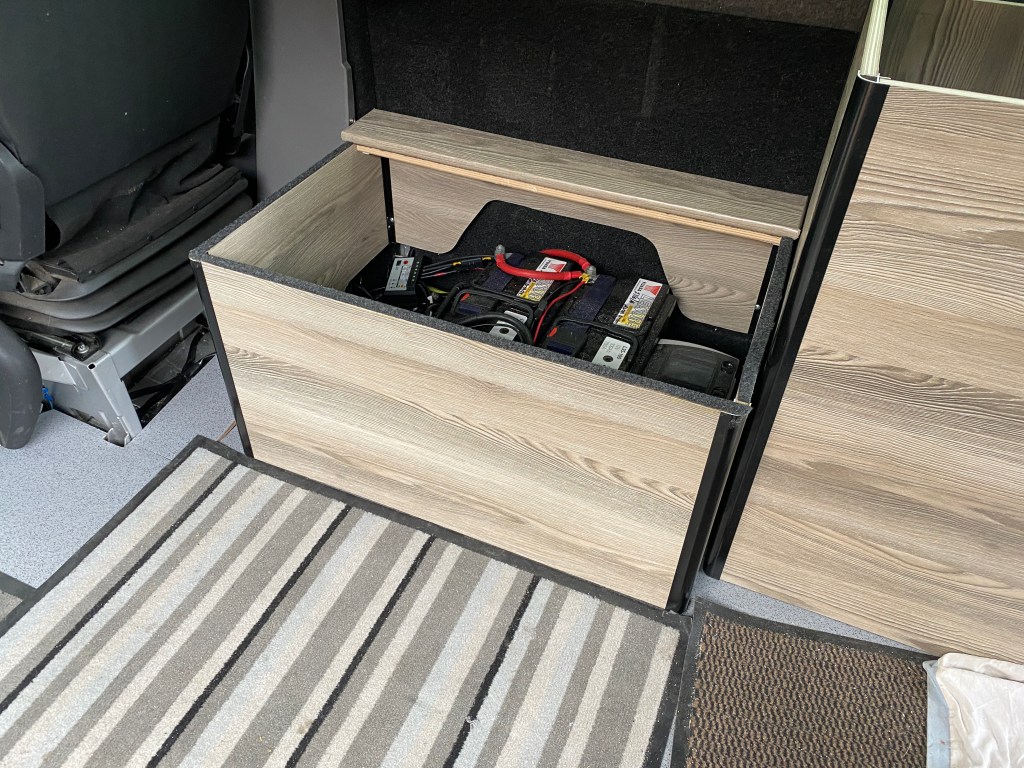

With the plywood units sitting on the floor there is a risk of it all squeaking as you drive down the road, so the trick is to glue a small amount of trim carpet to the underside to absorb any movement, and you can also see some fitted to to top of the battery box where the lid will close down onto it, even though the lid will be clipped in place I don’t want to risk wood on wood movement.
Thats it for now, the next units are a bit more difficult as they have Tambour doors fitted, and that’s a first for me. Hope your enjoying the blog, it can look easy when there’s just a few pictures and the odd paragraph or two but believe me, there was the odd swear word and hammer being thrown in anger, especially after cutting a piece of contoured ply for the 3rd time.
Stay Safe.
