5-4-20
Two weeks into lockdown and I’ve been as busy as ever, after all the planning that went into the build you would have thought it would be a straight forward job to knock the cabinets together, but best laid plans and all that…….
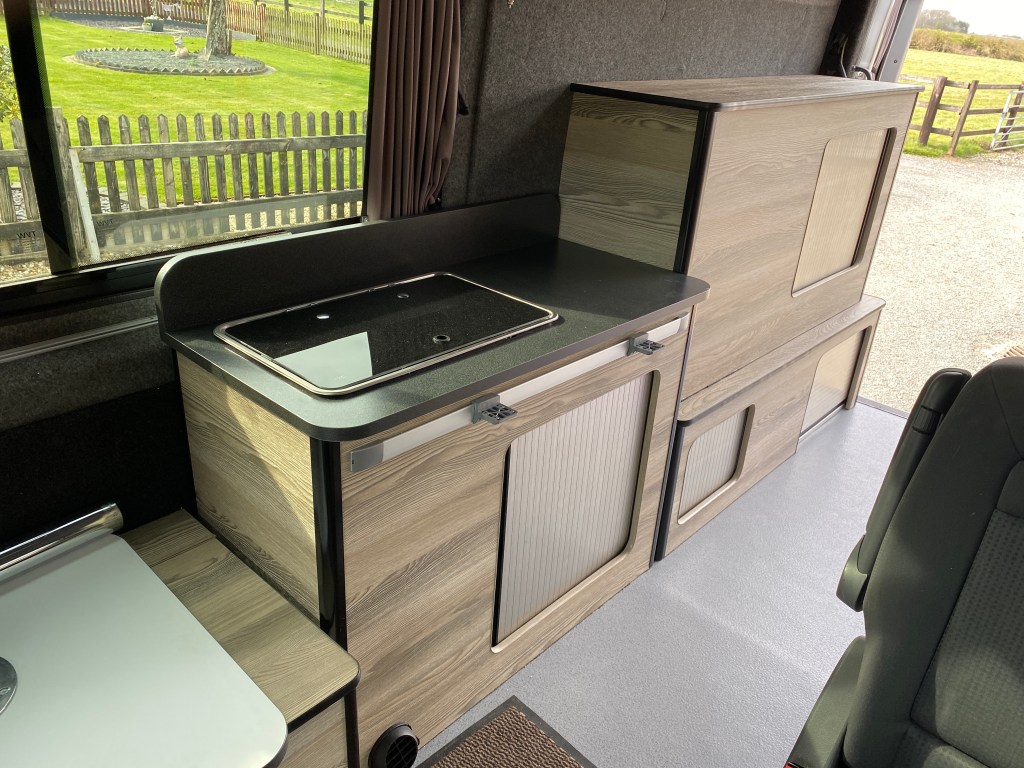
After the success of fitting everything into the battery box next in line was the kitchen unit, this houses the hob/sink combo, the night heater, water containers and gas bottle. It wasn’t until I sized up the Tambour door that a problem reared it ugly head, the door wouldn’t slide around the side of the unit due to the wheel arch intruding into the sidewall. The Tambour doors as standard come with a spiral mount for the door to slide into as opposed to my intention of running it around the side of the cabinet, so in the end this had to be utilised, but that meant I don’t have room for the Gas Locker that I had intended to fit.
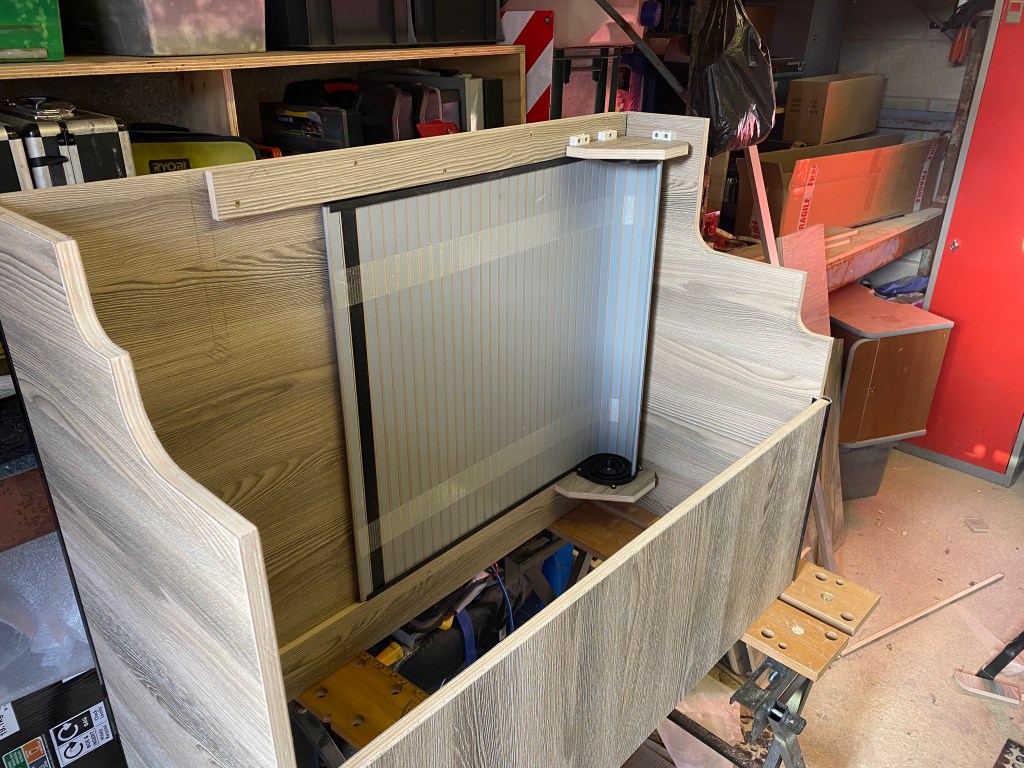
I should be able to fit a smaller gas locker that accepts the 907 Campingaz canisters that I use when abroad, but not the 4.5 kg propane I had hope to fit, oh well.

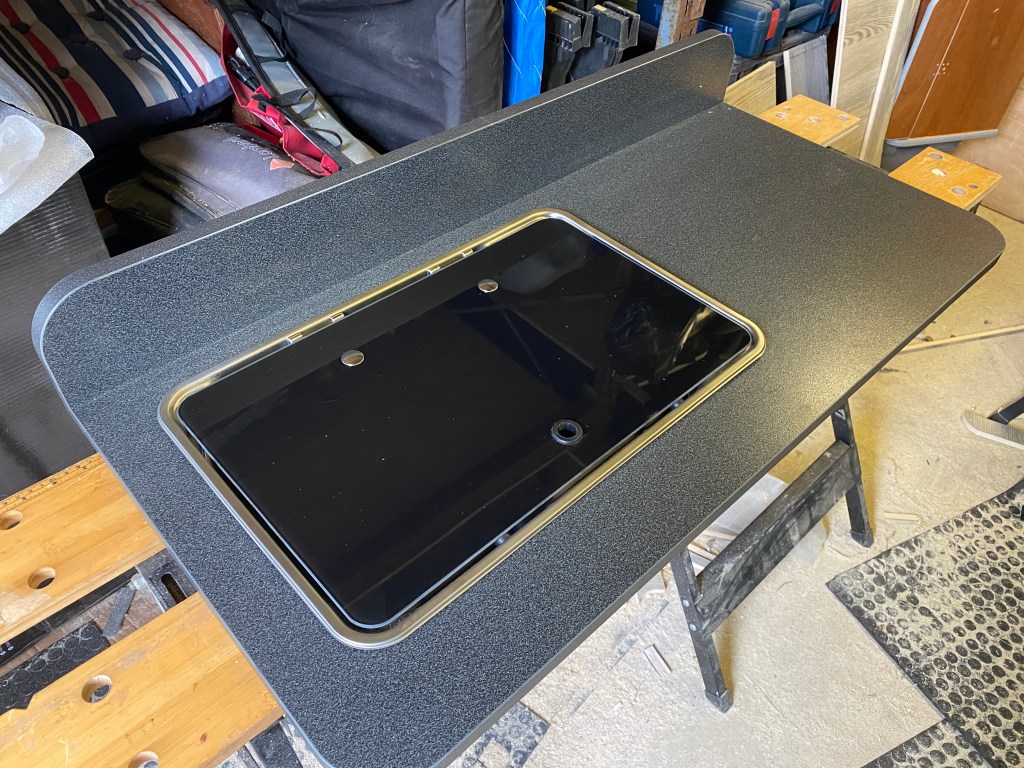
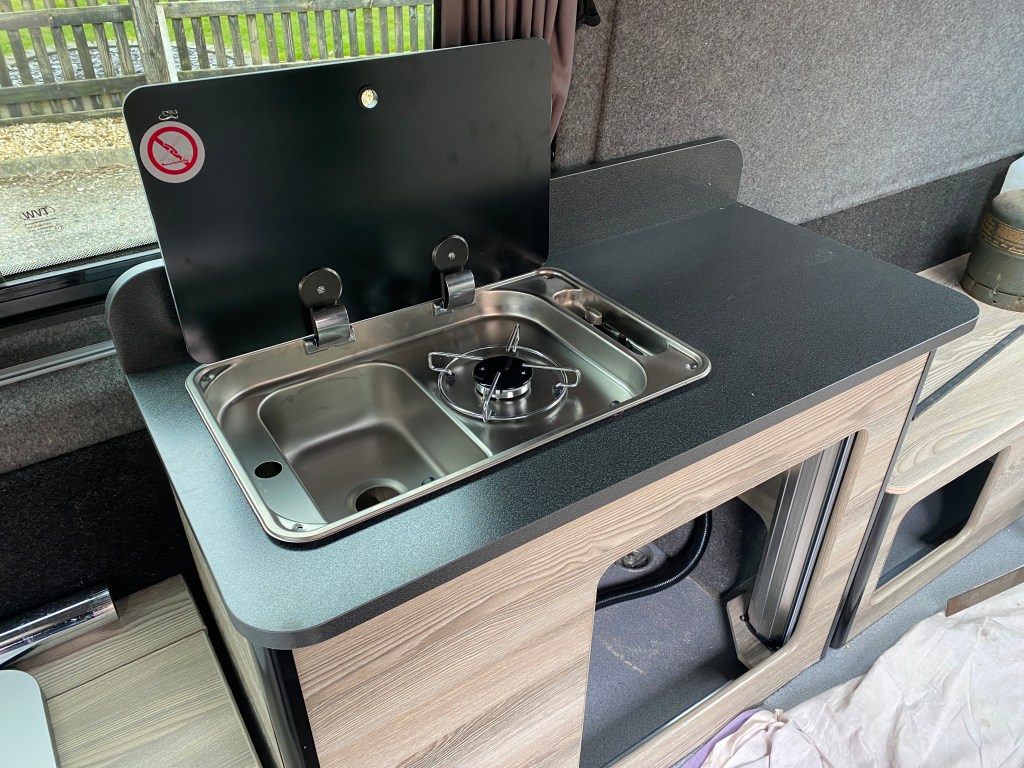
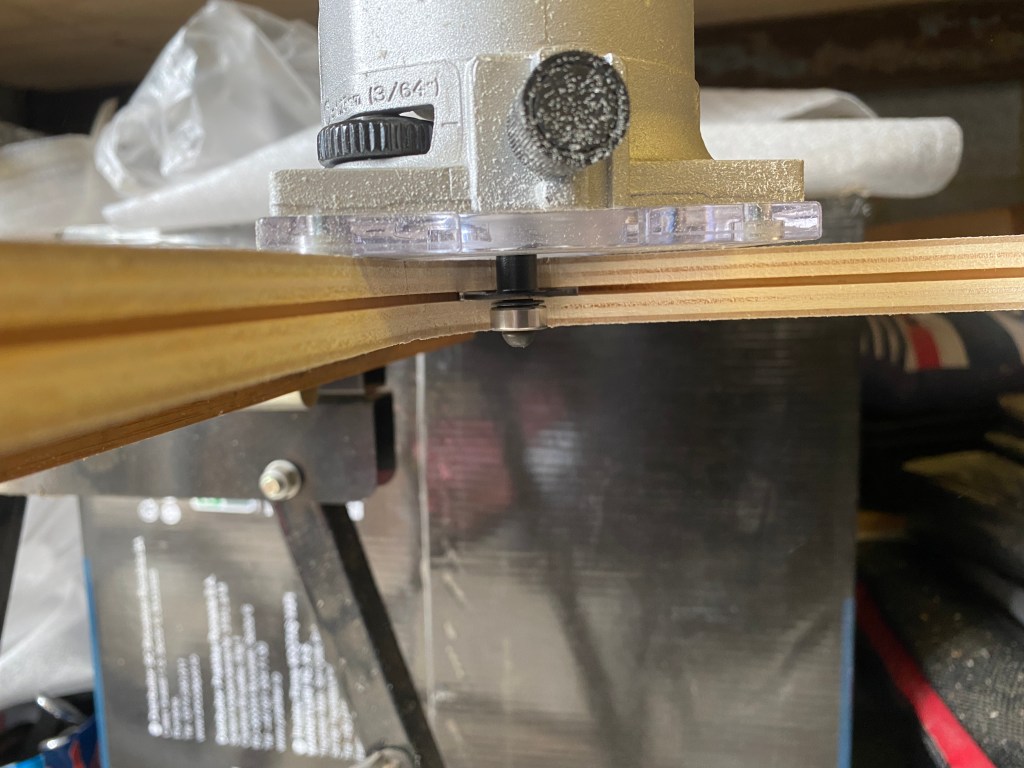
Once the cabinet was made up and the worktop fastened on it was time to cut a hole for the hob/sink combo, and once again the manufacturers of these things make it as difficult as possible for the diy’er to fit them. My original Smev unit was a pig to fit due to the cutout being such an awkward shape and the fact no template is supplied by Smev to help. The new one I’m fitting is by Can, an Italian manufacturer, and has a far simpler shape to cut out, but and its a big but, the corners need to be recessed 6mm into the worktop. No problem for a properly equipped joinery shop, but try cutting that by hand is a no go, it needs routing and for that you need to build a jig, so for now its sitting 6mm proud until I can sort something out.

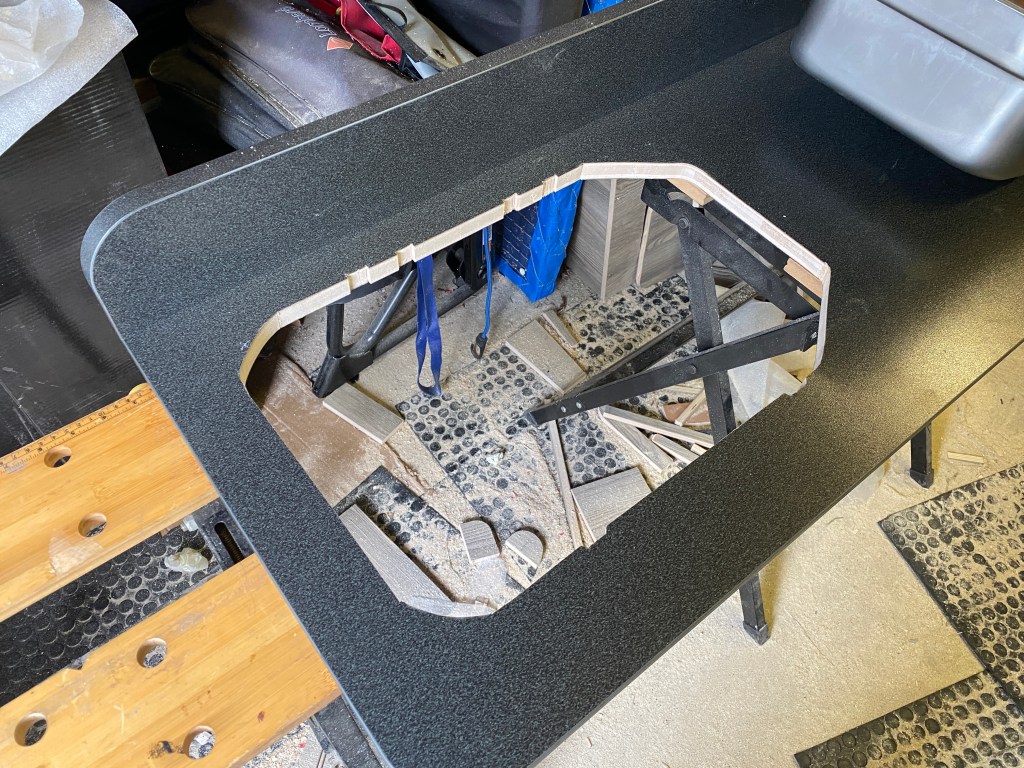
The picture above shows the fairly simple shape that was cut, but I also had to allow for the massive pan head screws they use to hold the lid hinges on with, because the Italians have never heard of countersunk screws, see what I mean.
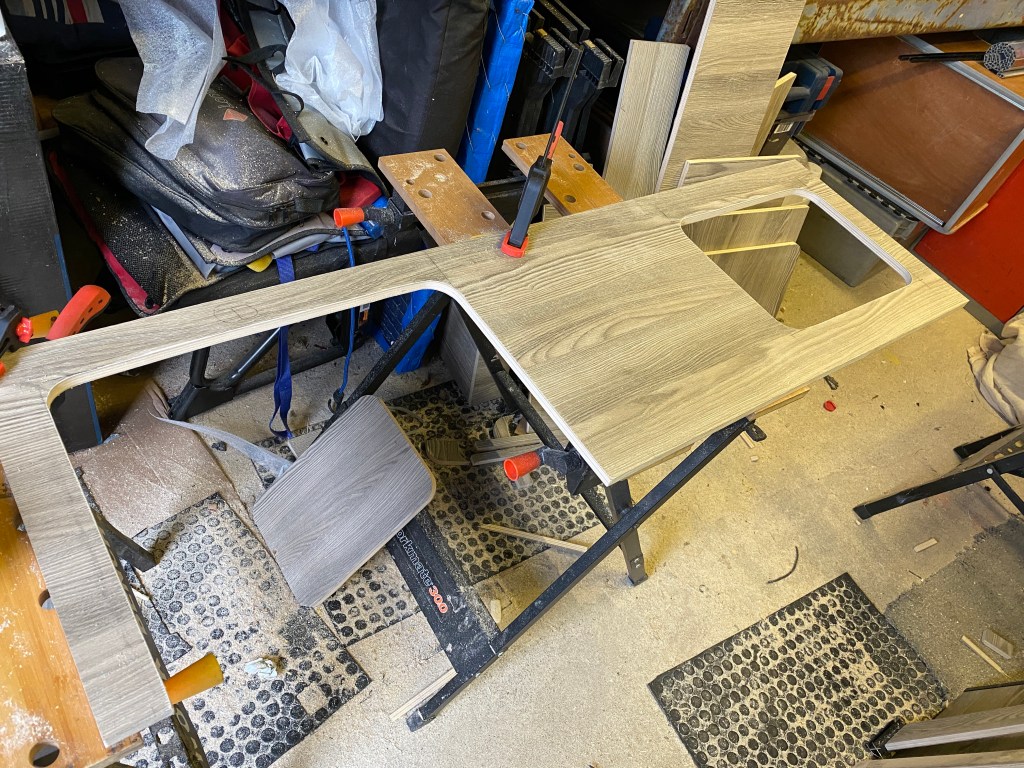
Next on the list was the long unit above the wheel arch, this was having 2 tambour doors fitted and is there to house the porta loo and general bits and bobs, stuff thats not used very often. It’s similar to the first one I did on the opposite side and now I’d figured out how to do the doors it was just a case of cutting, routing, knocking-in, assembling, screwing, fitting doors etc etc.


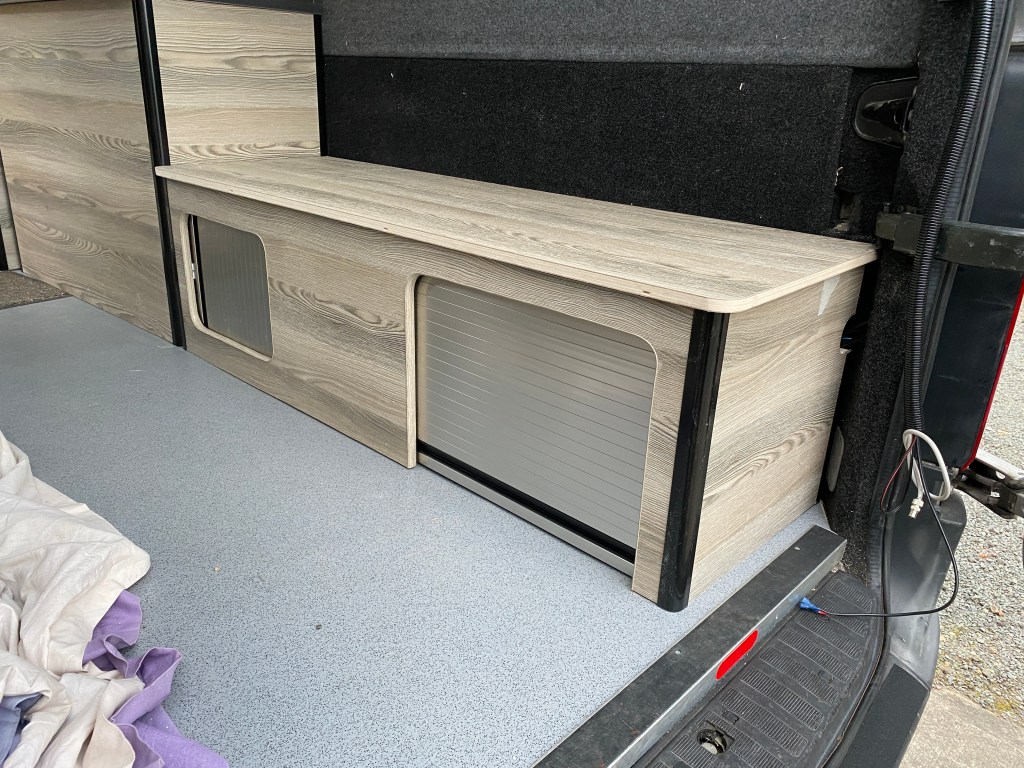
It was at this point I decided to change some of the knock in trim and fit black to the horizontal edges to give a bit of flow to the lines when viewed from the rear. So Ebay to the rescue again and I ordered some along with some other bits that you can no longer just pop to the shops for.
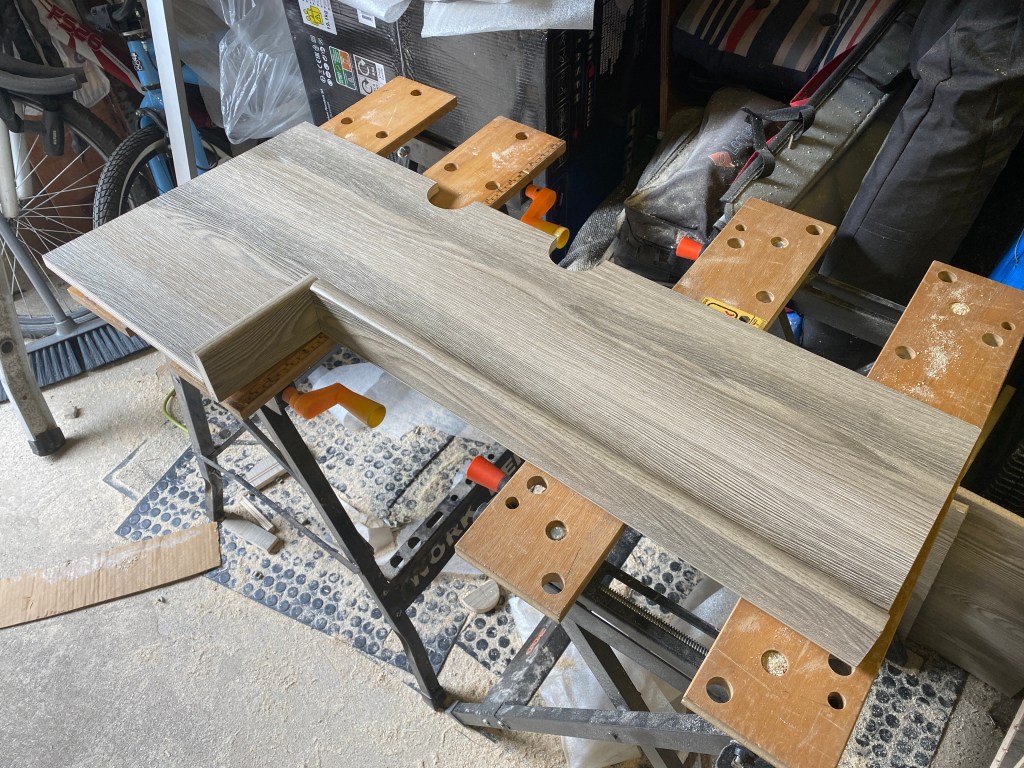
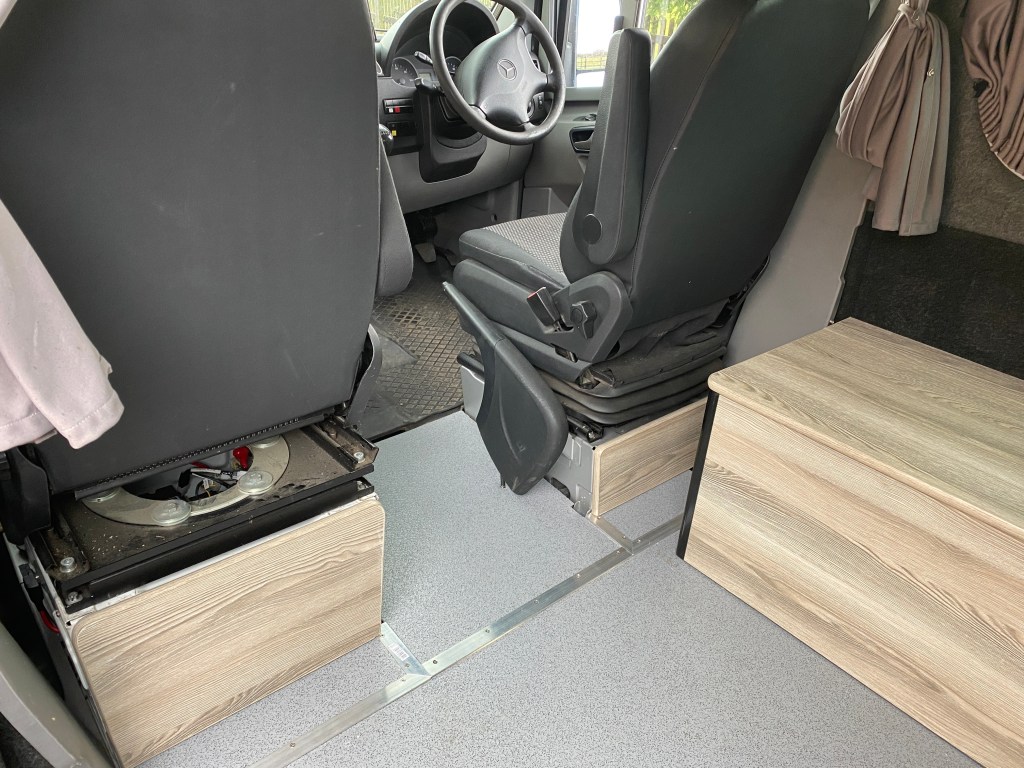
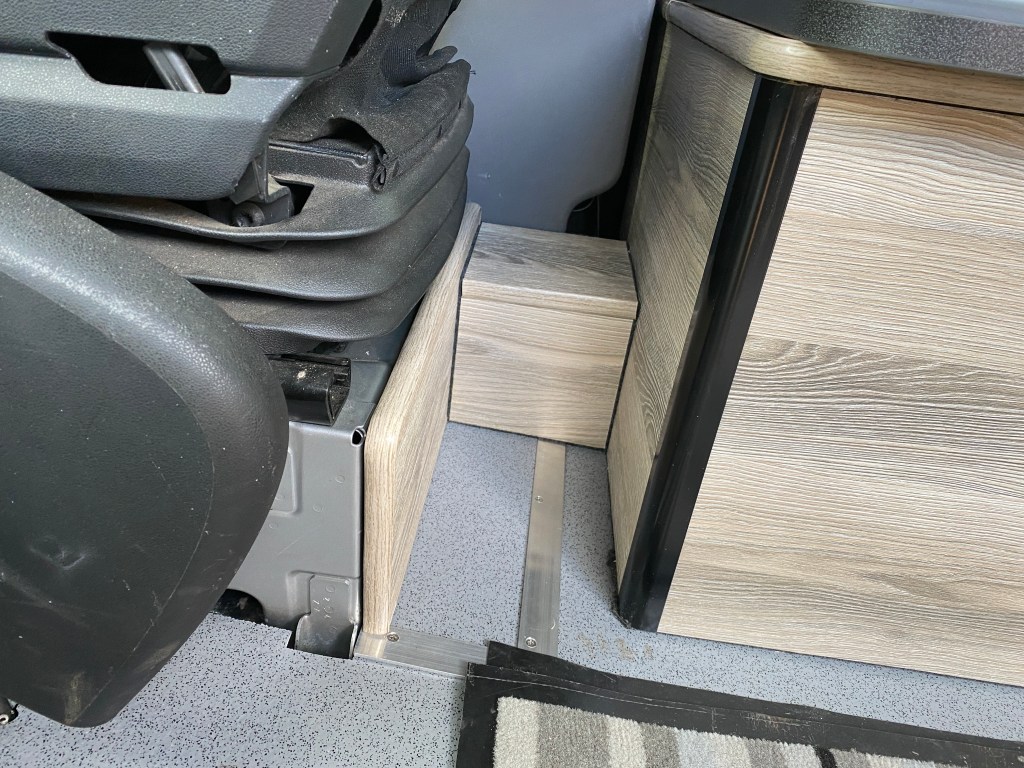
Whilst waiting for the postie to arrive I thought I’d knock up a few bits to tidy up the front of the van, the rear of the front seats was always an untidy place due to it weird shape and the fact that I’ve raised and insulated the floor. I had already trimmed the floor and put down some aluminium strips on the joints so I made up two small pieces to fit on the rear of the seat bases, small things but it does tidy it up a lot.


Last but not least was the big wardrobe like structure that seemed to fill the van, I was never happy about that, I actually liked the van without it but I do need some storage whilst travelling so I took the saw to it and reduced the height and depth until I had a happy compromise between the storage I needed and not causing an eclipse of the sun.
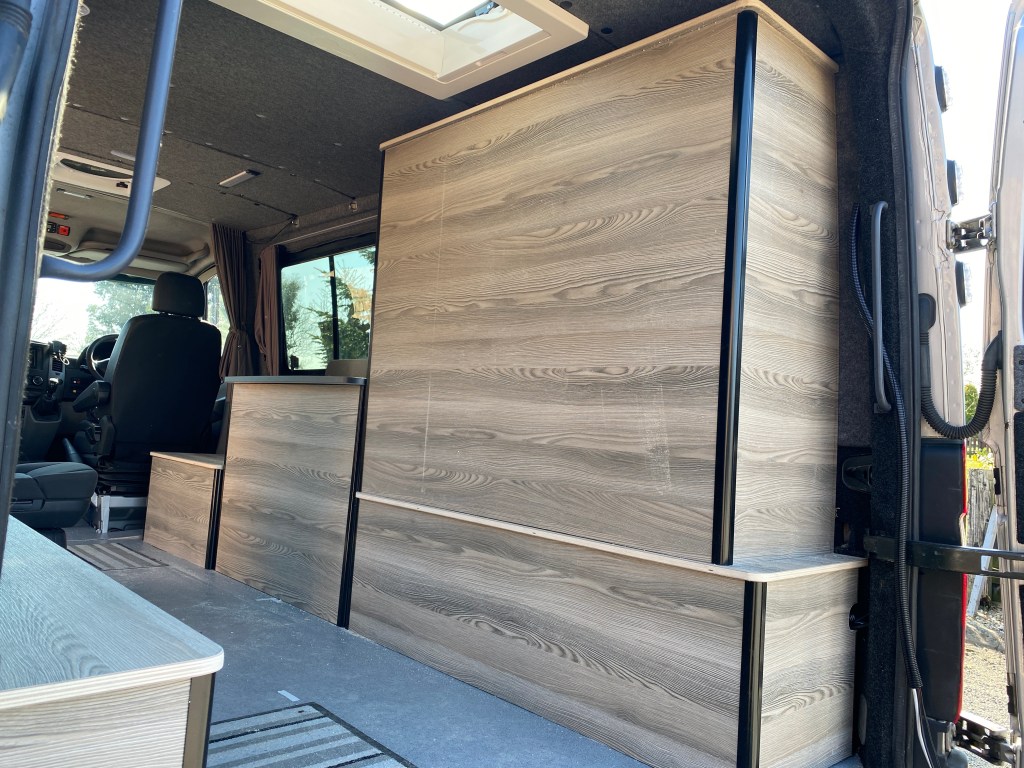
It worked well on paper during the planning stage, but no, just no.
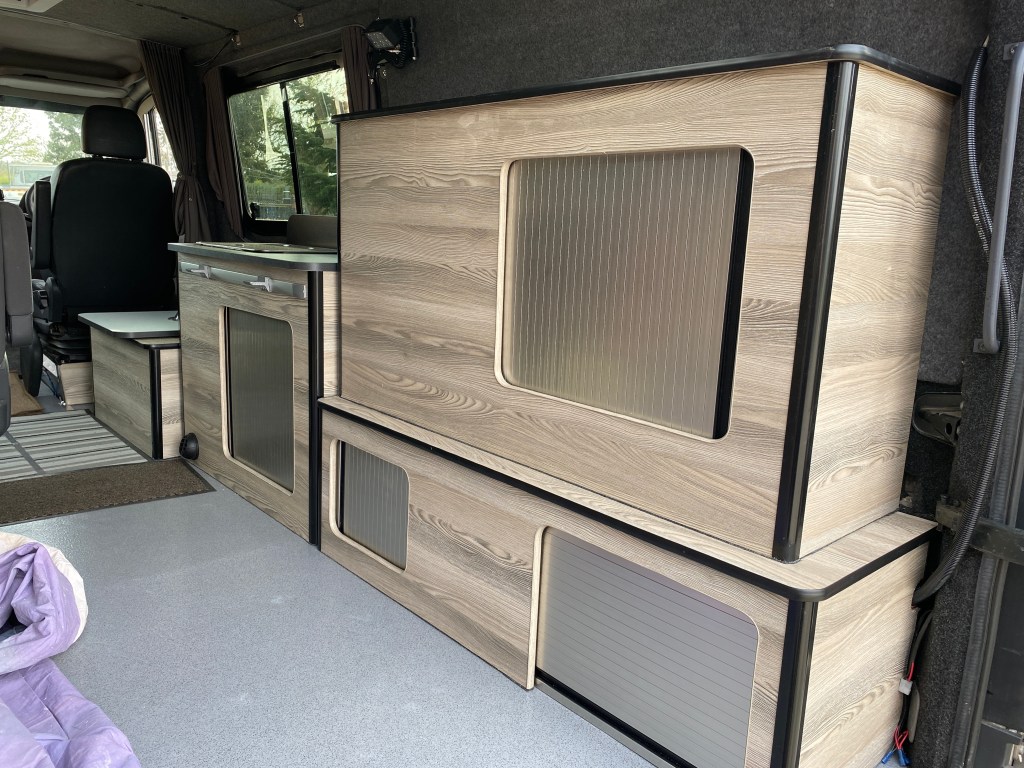
You can see the effect of the black horizontal trim along with the black corner posts, giving a nice outline of each unit, just enough I think.
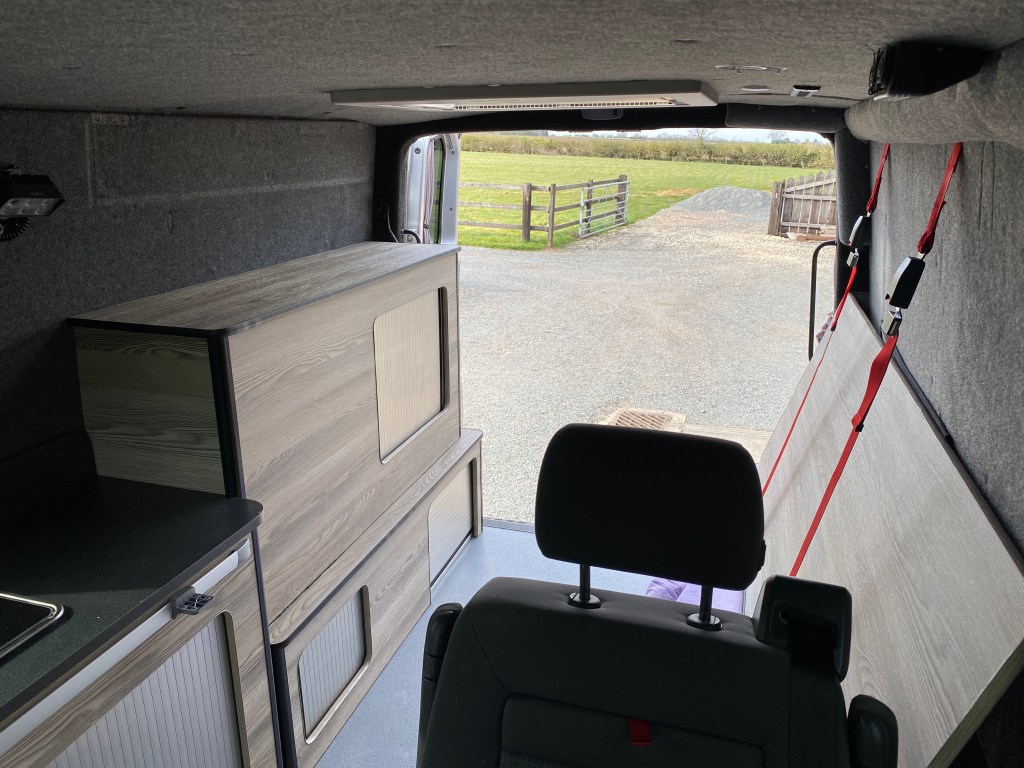
Another couple of jobs this week were the hinges and a catch on the battery box, and the retaining straps for the fold up bed.


I’m still waiting for the hinges and folding legs to arrive for the bed, theres enough room for the mattress and all the bedding behind the bed when its folded up so its possible to keep everything all ready to go at a moments notice.

Well, thats the main part of the build done, Ive still got some of the electrics to fit in the kitchen area. There are quite a few bits and bobs around the van to do and these will get done as and when.
I’m happy with how its all turned out, after weeks of indecision I’m really pleased with the choice of wood, its feels nice and airy in there now, the contrast between the black trim and the Nordic Ash seems to work ok.
