22-2-20
Today’s the day I rip holes in the roof of the van, all a bit daunting as once you start theres no going back.

I had decided to go with two roof lights, first is a Heki midi roof light to go over the bed area as these let in loads of natural light and the cover opens to approx 80 degrees allowing plenty of ventilation for those hot hot evenings you only seem to get aboard, combined with the fly screen/blackout blind combination it gives great versatility.
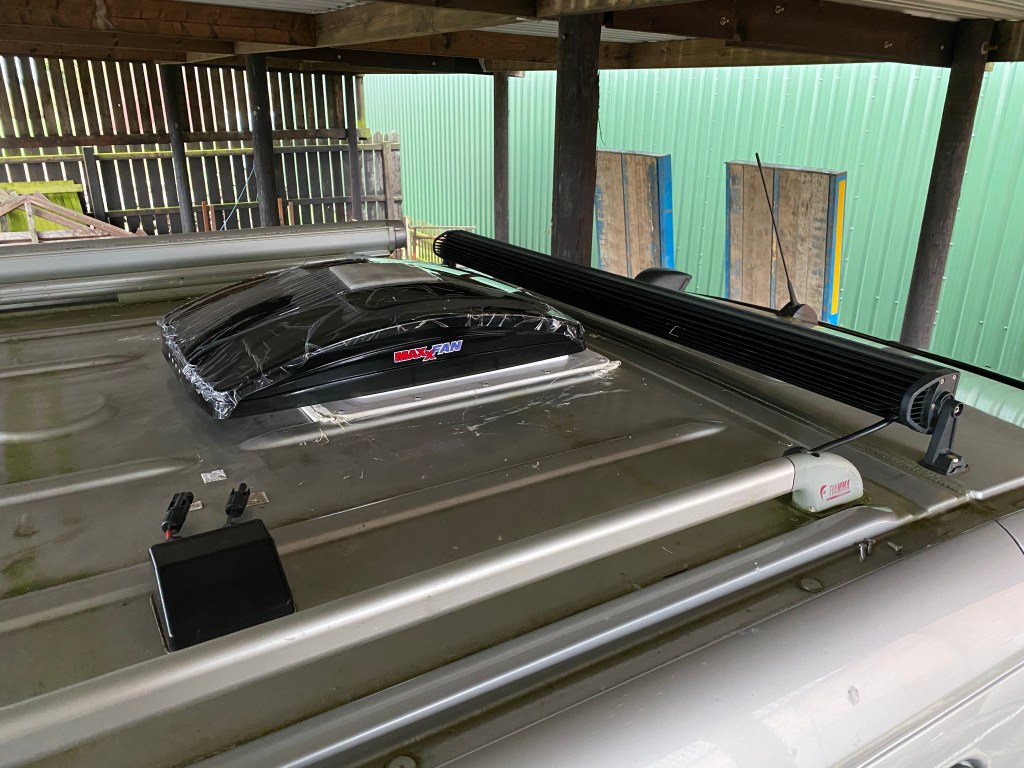
The second roof light is a Maxxair Maxxfan Deluxe, its one of those rare occasions that an American product has been imported into the UK and is a roaring success, especially with the competitive prices and high end spec. These vents have a 10 speed fan that is controlled either manually on the vent itself or via remote control from the comfort of your bed.
With my van being a MWB there is a limit to how much roof space I have to fit everything, I already have two large 100watt solar panels as well as various light bars etc etc. The Heki position was already a given and I decided that the Maxxfan should go as far forward as possible to allow space for the solar panel to sit together in the middle of the roof between the two.
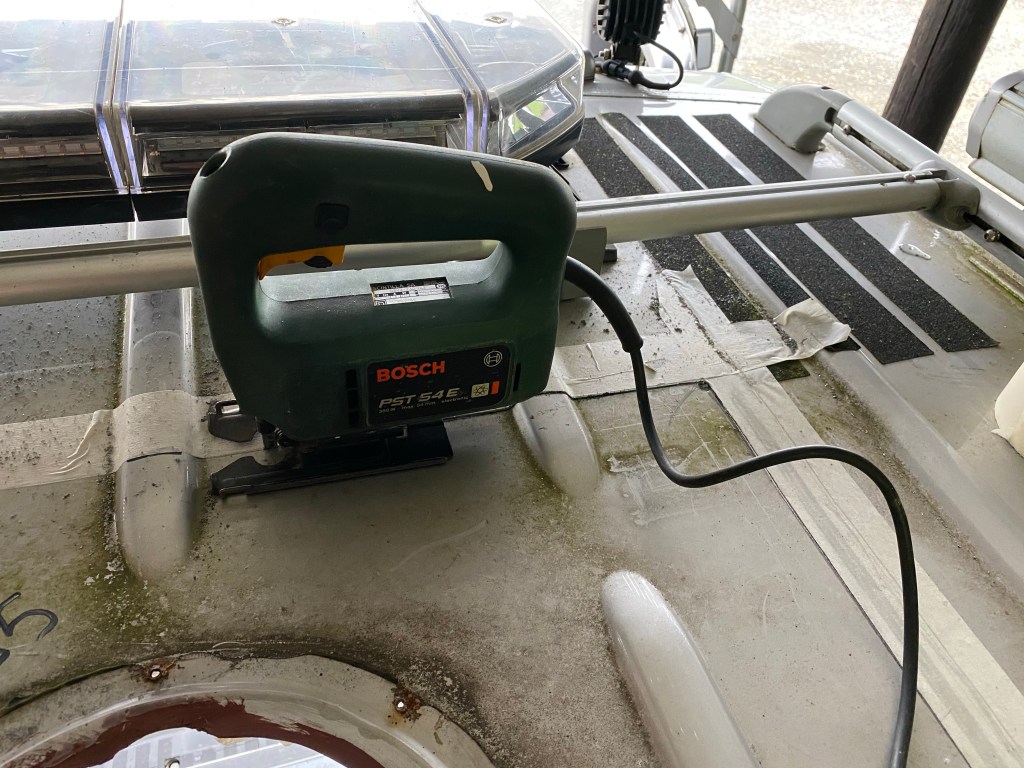
Once all the measuring was double checked and triple checked, I had already stripped the interior parts of the roof where the vents were going. On top of the roof the area outside of the cut was masked off and it was time to drill the corners and take a jigsaw to the steelwork.
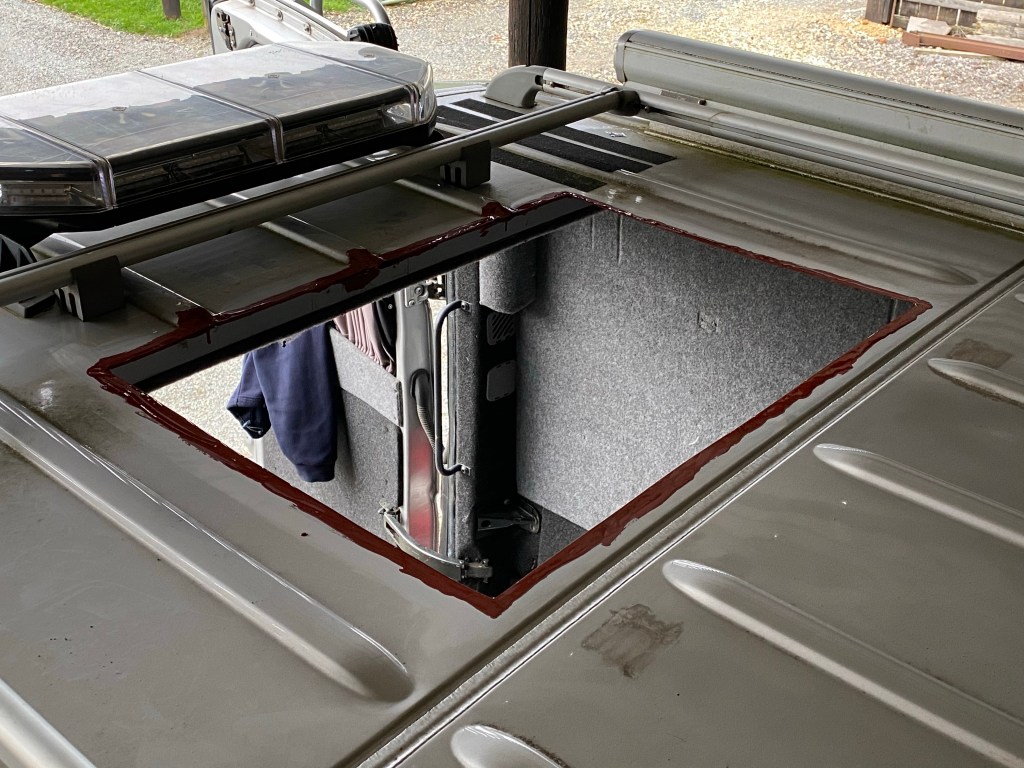
Once both holes were cut the bare metal was cleaned up with a file and given a coat of red oxide to prevent the possibility of rust attacking the metalwork.
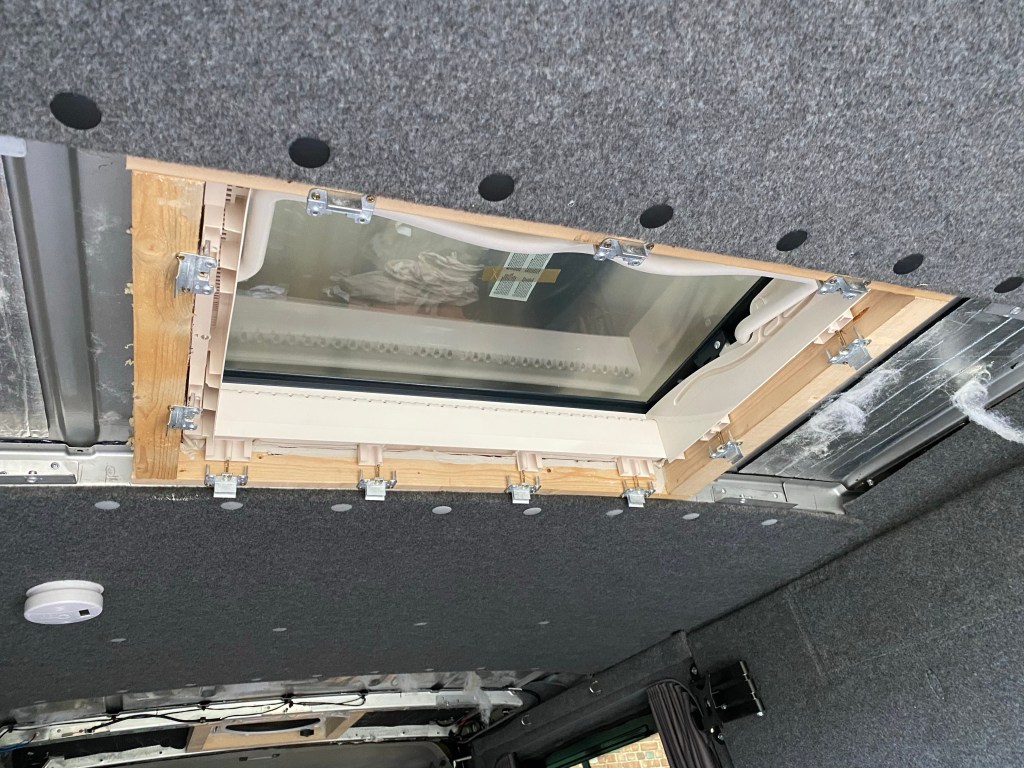
The insides had to have wooden frames made up to allow for easier fitment of the vents and to strengthen that area of the roof, these frames are bonded into place with adhesive such as Sikaflex 221, or similar.

Once the frames are set in place its time to start prepping the plastic frames of the vents, these need to be given a bit of a sanding down and a wipe over with a cleaning agent where the sealant is to be applied as its possible the oils in the plastic will prevent the sealant from adhering, and that would lead to them leaking.
On the outside I used some sealant that comes on a roll, this is laid flat on the edge of the hole and pressed firmly into place, making sure it has a perfect seal with the metal surface, then its time to put a bead of sealant onto the upturned plastic frame, again it must cover the whole area with no gaps, the Heki took a good 10mm bead where as the Maxxfan due to the width of the frame took two 6mm beads, inner and outer.

The Maxxfan uses screws to hold the frame in place whereas the Heki has clamps that screw into the wooden frame and then screw into the plastic half of the frame to keep it from falling off. Unfortunately the clamps provided were too small for my van and I’m waiting for the proper ones to arrive, thankfully it’s only a 10 minute job to swap them over.

Still lots to do, but thats enough for one day.

Fantastic Del! Going tobe really posh!
LikeLike